OpenSimGerman/Update mit Git
From OpenSimulator
Dies ist eine Anleitung zur Verwendung von Git für OpenSim core Entwickler.
Installieren von Git
Linux
CLI
- Git ist ein Package das für alle modernen Linux Distributionen vorhanden ist. Installieren Sie die folgenden Packages entsprechend Ihrer OS-Umgebung:
- Debian, Ubuntu:
apt-get install git-core
- Centos: Anleitung unter http://www.how-to-linux.com/2009/01/install-git-161-on-centos-52/
- Debian, Ubuntu:
GUIs
- git-gui
- Debian, Ubuntu:
$ sudo apt-get install git-gui
$ git gui
- git-cola
- Debian, Ubuntu:
$ apt-get install git-cola
$ git-cola
Windows
Unter Windows benötigen Sie 2 Komponenten:
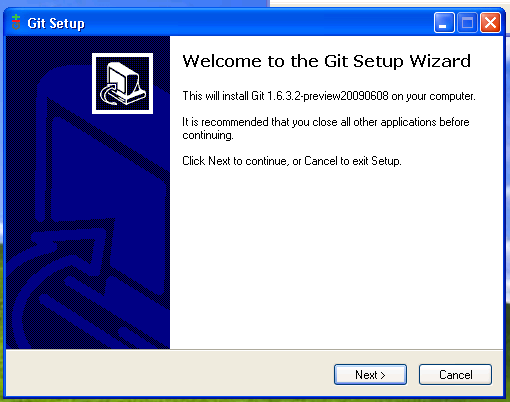
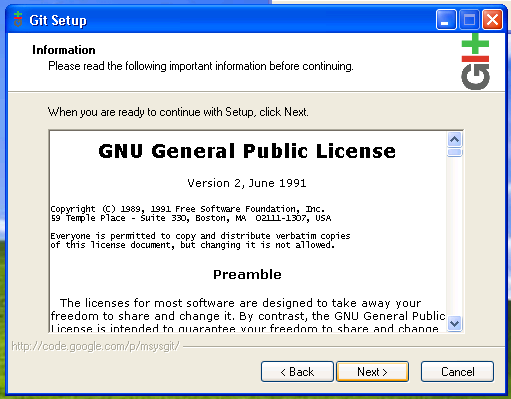
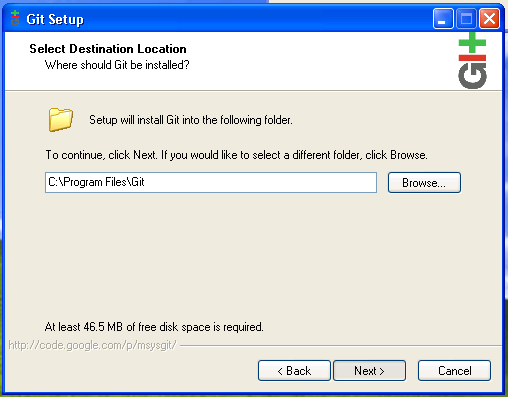
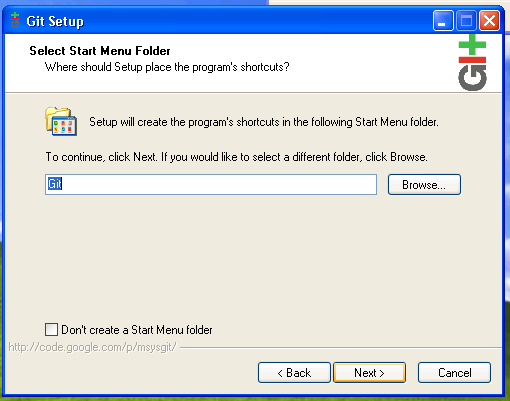
- msysgit - Das Grundmodul für Windows. Installieren Sie dieses zuerst.
- Tortoise Git - Der Git Explorer. Installieren Sie dieses als zweites Modul.
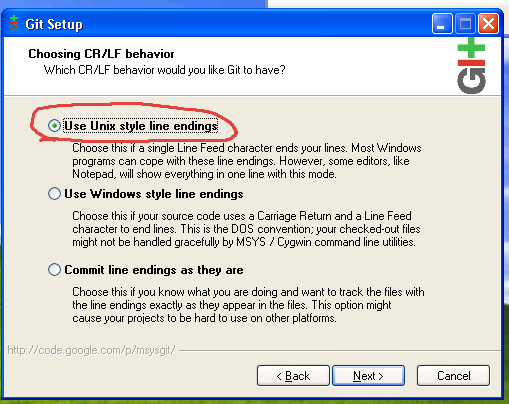
Wenn Sie msysgit installieren vergewissern Sie sich, dass Sie Unix style line endings aktiviert haben. Damit wird sichergestellt das die Zeilen-Endekennung richtig interpretiert werden, und gemischte Ergebnisse in Zukunft vermieden werden.
Git Konfiguration
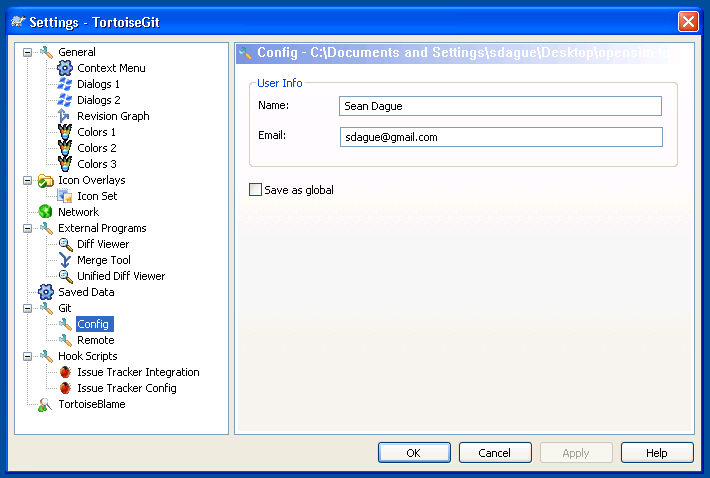
Git hat eine globale wie eine lokale Konfiguration für jedes Repository. Als Erstes ist es wichtig dass Sie Ihre Emailadresse und Ihren Namen der im System benutzt werden soll wie folgt bekannt geben.
Linux:
git config user.email Deine@EMAIL.ADDR
git config user.name "Dein Name"
Unter Windows benutze das Konfigurationsmenü wie folgt:
Git Repositories für OpenSim
Hier die Repository Url's:
| Repository | Developer URL | User URL |
|---|---|---|
| opensim (main repository) | ssh://opensimulator.org/var/git/opensim | git://opensimulator.org/git/opensim |
Klonen des Repositry (für Core Developers)
Wenn Du ein Core Developer bist benutze die Developer URL von oben. Wenn Du kein Core Developer bist , benutze die User Url. Das erzeugen des ersten Klones kann einige Minuten in Anspruch nehmen, da das komplette Repository mit der ganzen history erzeugt und geladen wird.
Anders als mit svn können Sie mehrere Quellen definieren, von denen Sie Daten ziehen können. Wenn Sie zuerst mit einem User tree (welcher nur read only ist), können Sie später den core tree (oder einen anderen tree vom github) benutzen.
Linux
Benutzen Sie die folgende Kommandozeile:
git clone ssh://opensimulator.org/var/git/opensim
Dieses legt ein Test-Verzeichnis opensim an.
Windows
Mausklick rechts auf den Desktop (oder wo auch immer) und 'Git Clone...'
Wenn Sie nach einer Url gefragt werden geben Sie bitte folgende ein ssh://opensimulator.org/var/git/opensim. Dein Username und Dein Passwort werden dann benutzt für opensimulator.org.
Klonen des Repositry (für Nicht Core Developers)
Benutze die selbe Vorgehensweise wie oben, nur anstatt der Nutzung der ssh:// Url benutze die git:// Url. Dies ist das Äquivalent zum anonymen svn Zugang.
Konzeptionelle Veränderungen zu Subversion
Distributed source code control is a substantially different mental model than centralized source code control. If it freaks you out a bit, don't worry, everyone has that same reaction initially. This blog post is the best explanation that I've seen of the concepts involved.
For heavy users of subversion you should read the git / svn cheat sheet. This provides a very solid basis for making your changes. That being said there are some conceptual changes to note.
- Terminologie
- master ist der name der primären upstream branch (bei subversion trunk genannt)
- origin ist der name und die location von dem Sie Ihren Klon gezogen haben
- All repositories are full peers to all other repositories. Your cloned git repo is all the history of the entire project, available locally. It means you can sync between any 2 clones of the repository, not just between your clone and the master repo. This lets people work together on changes not in
- Version numbers are SHA1 hashes, not sequential integers. This means referring to specific revisions is a bit more interesting. For most of the git commands, you only need to give it the first 6-8 digits of the hash for them to work.
- Committing
- commits are local. This means they are fast (no network involved) and they are committed against the last state of the tree. Any conflict resolution will be handled after commits, during your next pull. This is slightly different than pull-resolve-then-commit model of subversion.
- by default only files you explicitly git add are put into the commit. To get svn ci equivalency use git commit -a to commit all outstanding files (I think tortoise handles this for you)
- after making a commit you must then push it to a remote repository (probably origin). By default you push only branches you have previously pushed, typically master.
The biggest real change is the Subversion dictates a very specific workflow. Git does not. Git allows for many different workflows, and lets each developer use the one that is best suited to his/her self.
Gegenüberstellung Git --- SVN Befehle
Hier eine Schnellanleitung zur Benutzung von Git als Versionsverwaltung für core developer. Für normale Benutzer funktionieren diese Befehle genauso, es muss lediglich die Git:// anstatt der ssh:// URL benutzt werden.
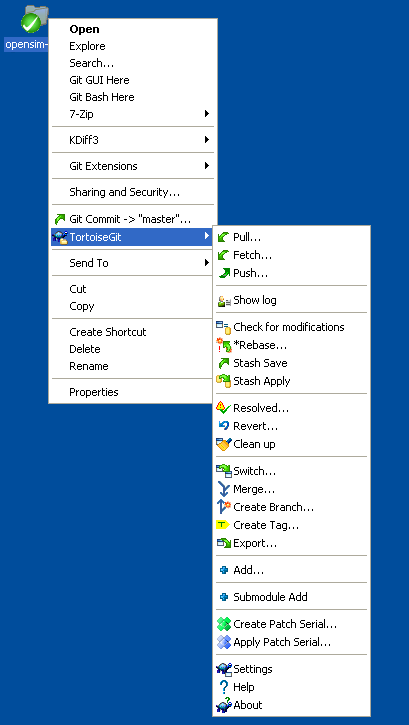
Hier die Unix Kommandozeilenbefehle. Diese Befehle sind auch im Kontextmenü von Tortoise git vorhanden.
Ziehen des Quellcodes
git clone ssh://opensimulator.org/git/opensim-test
Dies ist das Äquivalent zu svn co
Note: Alle anderen Anweisung erwarten das Du Dich im git Verzeichnis befindest.
Updaten Deines checkout
git pull
Dies ist das Äquivalent zu svn update
Kontrolliert Veränderungen im working tree
git status
Dies ist das Äquivalent zu svn status
Übertragen einer Änderung
Beispiel:
git add file1 file2 ...
git commit
oder
git commit -a
Pushen der commiteten Änderungen
Beim ersten mal müssen Sie eine Bracnh zuweisen die Sie pushen wollen.
git push origin master
Nach dem ersten mal reicht ein simples git push , und git weiss dass master syncronisiert werden muss zu origin.
Achtung: commits in git sind lokal. Sie sind nicht verfügbar im Main Tree solange Du Sie nicht mit push bereit stellst. Das heisst, Sie können offline Änderungen vornehmen und diese später mit dem Netz syncronisieren.
Das Checkout auf eine spezielle Revision setzen
git reset --hard #HASHVALUE
Dieses gibt Ihnen dei Möglichkeit ganz bestimmte Versionen zu nutzen. Dies ist das Äquivalent zu svn up -R#version.
git reset dient natürlich auch um Versionensänderungen zurückzusetzen.
Resetten des tree auf master (i.e. trunk)
git pull
pro vorgehen
Erzeugen eines Patch
git format-patch #HASHVALUE
This will create a patch suitable for attaching or emailing from a single commit. You can also specify a range of commits.
Dies ist am nächsten zu svn diff > patchfile.txt für nicht übertragene patches in subversion.
Applying a Git Patch
If someone has formatted a git patch you can apply it directly (including all file adds, file mode changes, and their change log entry) with:
git apply patchfile.patch
Reverting a Change
git revert #HASHVALUE
This directly reverts the change, with a commit message stating that fact. There is no svn direct equiv, though this is often accomplished through: svn diff -R revisions > revert.patch && patch -p0 < revert.patch && svn ci -m "reverting revisions"
Resetting part of the tree to master
git checkout -- file1 file2 ...
Checkout is an operation that populates the working directory from the git repository. Doing a git checkout (master is the implied branch) -- file1 file2 repulls those files from the git repo, clobbering them in your local directory. This is like svn revert.
Diffing Changes
Against your most recently committed changes
git diff
From your most recent changes to a past change
git diff #HASHVALUE
Between any 2 changes
git diff #HASHVALUE1 #HASHVALUE1
Branches
Erzeugen ein Branch
To create a new branch based on the current one, do:
git branch <branchname>
Changing Branches
To change between branches do:
git checkout <branchname>
Tracking a Branch
If you want to work on a specific branch, you can track it, by creating a local version of it on which you can pull and push. If you have already pulled (or fetched) from origin, you should have all remote branches names:
git branch -a
Will show all branches, local and remote. Choose a remote branch to track then do:
git branch --track <localbranchname> origin/remote/<remotebranchname>
A new local branch will be created created, which will push and pull to the specific remote branch.
