Using Git
From OpenSimulator
(→Resources & References: Added git-svn manual link for people wanting to use GIT to access SVN repos) |
(→Resources & References: added git-svn cheat sheet link) |
||
| Line 257: | Line 257: | ||
The git-svn(1) Manual Page [http://www.kernel.org/pub/software/scm/git/docs/v1.6.3.3/git-svn.html] (git-svn = Bidirectional operation between a single Subversion branch and git) | The git-svn(1) Manual Page [http://www.kernel.org/pub/software/scm/git/docs/v1.6.3.3/git-svn.html] (git-svn = Bidirectional operation between a single Subversion branch and git) | ||
| + | |||
| + | The Git-Svn Cheat Sheet [http://cheat.errtheblog.com/s/gitsvn/] | ||
Revision as of 09:09, 11 November 2009
This is an introduction to using git for OpenSim.
Installing Git
Linux
CLI
- Git is provided as a package with all modern Linux distributions. Install the following packages depending on environment:
- Debian, Ubuntu:
apt-get install git-core
- Centos: see the instructions at http://www.how-to-linux.com/2009/01/install-git-161-on-centos-52/
- Debian, Ubuntu:
GUIs
- git-gui
- Debian, Ubuntu:
$ sudo apt-get install git-gui
$ git gui
- git-cola
- Debian, Ubuntu:
$ apt-get install git-cola
$ git-cola
Windows
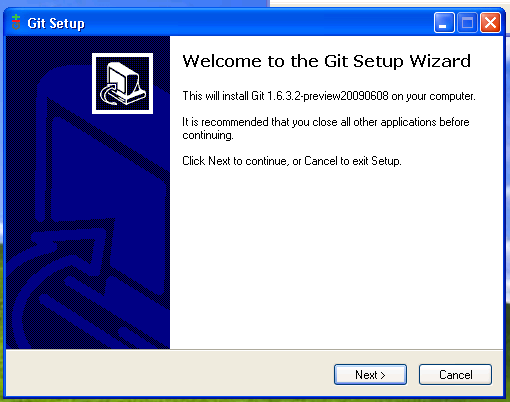
On Windows you need to install 2 packages:
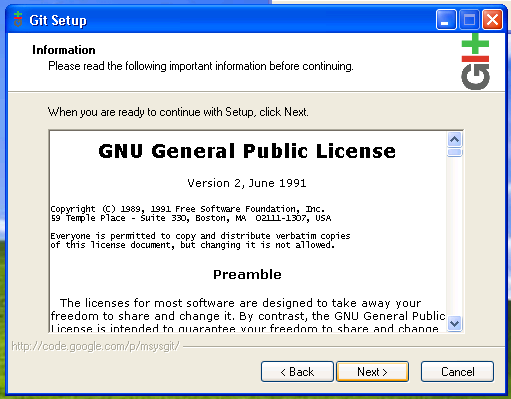
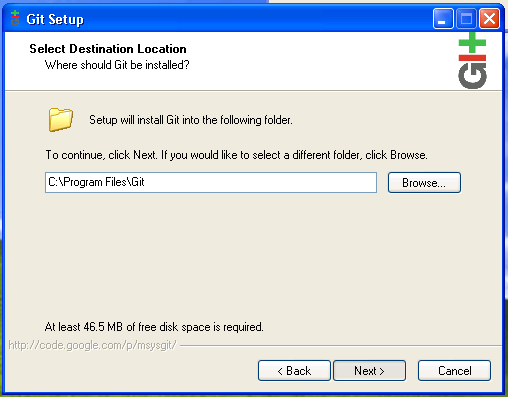
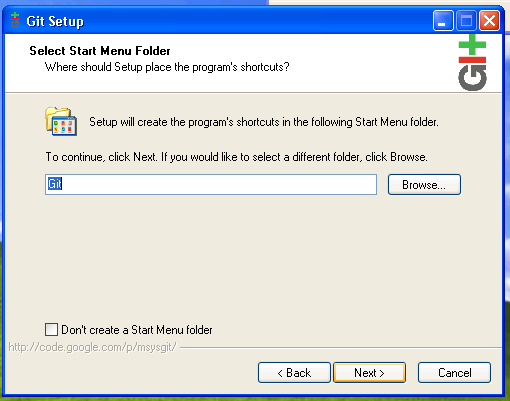
- msysgit - the basic git port for windows. Install this first.
- Tortoise Git - the git explorer. Install this second.
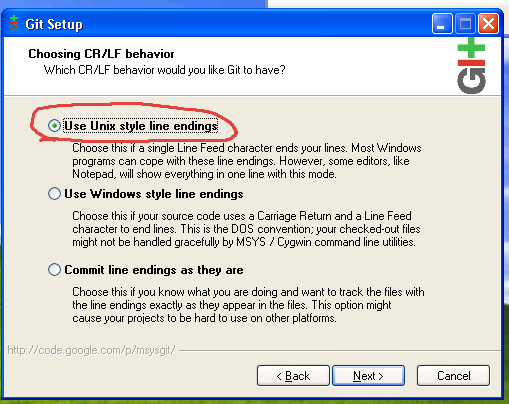
When installing msysgit be sure to choose Unix style line endings. This will make it so that all the line endings are managed correctly, which will prevent merge issues in the future.
Mac OS X
If you have MacPorts installed, then open a Terminal window and run:
sudo port install git-core
Configuring Git
Git has both a global config and a local config for each repo. As one might expect, local trumps global. The first important thing to do is set your name and email address, as that will be used in your commits.
On Linux / Mac OS X this is done via:
git config user.email YOUR@EMAIL.ADDR
git config user.name "Your Name"
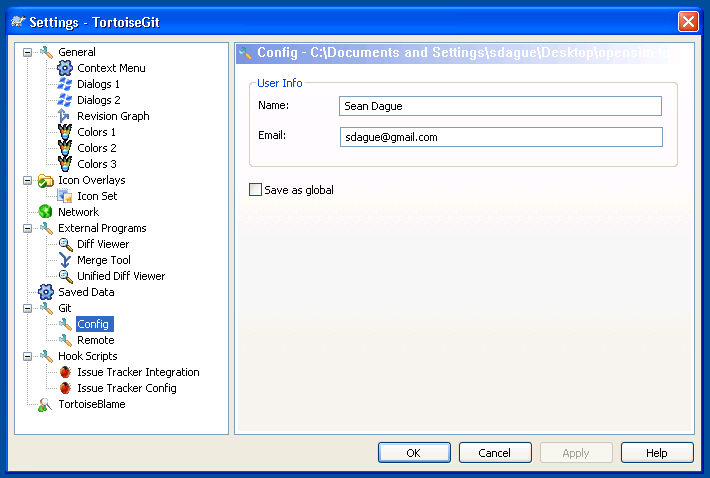
On Windows this done with the config menu.
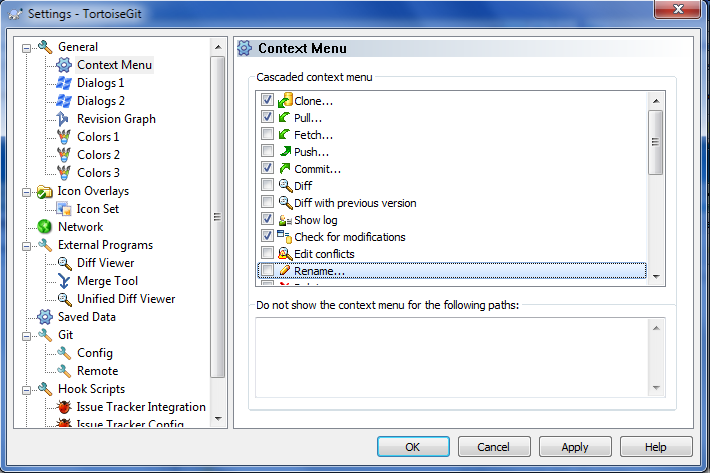
To setup your Context Menu to make your options easier, select the Context Menu options as shown above and choose what you want to have displayed immediately.
Git Repositories for OpenSim
The urls for the repositories are as follows:
| Repository | Developer URL | Anon URL |
|---|---|---|
| opensim (main repository) | ssh://opensimulator.org/var/git/opensim | git://opensimulator.org/git/opensim |
Cloning the Repositry (for Core Developers)
If you are a core developer, use the developer url above. If you aren't a core developer, use the anon url above. The initial clone will take a few minutes, as it is pulling the entire change history. Don't be concerned about space, all the change history stored in git takes up less space than a single checked out copy of opensim. Welcome to the wonderful world of content addressable storage.
Unlike with svn, you can define multiple sources to pull from. So if you initially start with an anon tree (which is read only), you can still later define the core tree (or some other remote target on github) and push to that.
Linux / Mac OS X
Run the following on the command line:
git clone ssh://opensimulator.org/var/git/opensim
This will create an opensim-test directory locally
Windows
Right click on the Desktop (or wherever) and 'Git Clone...'
When prompted for a url provide ssh://opensimulator.org/var/git/opensim. You username and password will be the ones used for opensimulator.org.
Cloning the Repositry (for Non Core Developers)
git clone git://opensimulator.org/git/opensim
This is the equivalent of anonymous svn access.
Resolving git hash & revision numbers
Conceptual Changes from Subversion
Distributed source code control is a substantially different mental model than centralized source code control. If it freaks you out a bit, don't worry, everyone has that same reaction initially. This blog post is the best explanation that I've seen of the concepts involved.
For heavy users of subversion you should read the git / svn cheat sheet. This provides a very solid basis for making your changes. That being said there are some conceptual changes to note.
- Terminology
- master is the name of the primary upstream branch (in subversion terms, this is trunk)
- origin is the name and location of the tree you cloned from
- All repositories are full peers to all other repositories. Your cloned git repo is all the history of the entire project, available locally. It means you can sync between any 2 clones of the repository, not just between your clone and the master repo. This lets people work together on changes not in
- Version numbers are SHA1 hashes, not sequential integers. This means referring to specific revisions is a bit more interesting. For most of the git commands, you only need to give it the first 6-8 digits of the hash for them to work.
- Committing
- commits are local. This means they are fast (no network involved) and they are committed against the last state of the tree. Any conflict resolution will be handled after commits, during your next pull. This is slightly different than pull-resolve-then-commit model of subversion.
- by default only files you explicitly git add are put into the commit. To get svn ci equivalency use git commit -a to commit all outstanding files (I think tortoise handles this for you)
- after making a commit you must then push it to a remote repository (probably origin). By default you push only branches you have previously pushed, typically master.
The biggest real change is the Subversion dictates a very specific workflow. Git does not. Git allows for many different workflows, and lets each developer use the one that is best suited to his/her self.
Using Git like Subversion/trunk development
This is a set of quick instructions to use git like we do subversion development today. It is targetted for core developers (so assumes you are using the ssh access), though most of it will work for non developers by just changing a url.
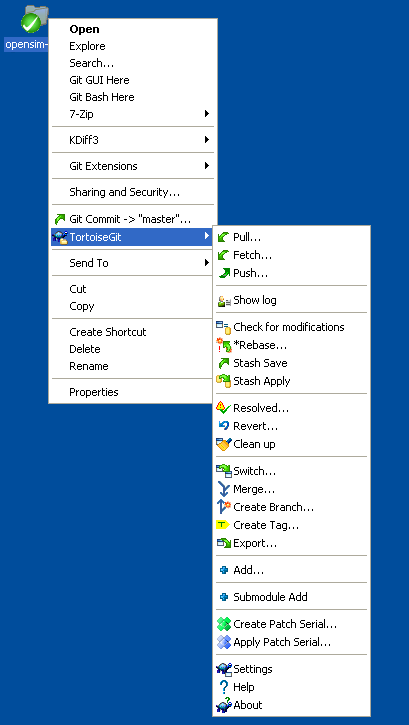
This is done by giving the unix commands. These options should all be available in the context menu on tortoise git as well.
Getting the source code
git clone ssh://opensimulator.org/git/opensim-test
This is the equivalent of svn co
Note: all other operations assume that you are in the git directory.
Updating your checkout
git pull
This is the equivalent of svn update
Inspecting what has changed in your working tree
git status
This is the equivalent of svn status
Committing a change
either:
git add file1 file2 ...
git commit
or
git commit -a
by default git does not add all files during a commit.
Pushing the committed change
The first time you do this you'll need to specify which branch to push.
git push origin master
After the first time a simple git push will be enough, as it defaults to origin, and now git knows that master should by synced to origin.
Important: commits in git are local. They are not included in the main tree until you push them. This means you can create commits when you are not on the network and sync afterwards.
Setting the checkout dir to a specific revision
git reset --hard #HASHVALUE
This will effectively rewind the tree to the specific revision, and modify the checkout dir accordingly. This is equiv to svn up -R#version.
git reset can also be useful if you screwed up commits and want to get rid of them
Resetting the tree to master (i.e. trunk)
git pull
per previous
Creating a Patch
git format-patch #HASHVALUE
This will create a patch suitable for attaching or emailing from a single commit. You can also specify a range of commits.
This is closest to svn diff > patchfile.txt for uncommitted changes in subversion.
Applying a Git Patch
If someone has formatted a git patch you can apply it directly (including all file adds, file mode changes, and their change log entry) with:
git apply patchfile.patch
Reverting a Change
git revert #HASHVALUE
This directly reverts the change, with a commit message stating that fact. There is no svn direct equiv, though this is often accomplished through: svn diff -R revisions > revert.patch && patch -p0 < revert.patch && svn ci -m "reverting revisions"
Resetting part of the tree to master
git checkout -- file1 file2 ...
Checkout is an operation that populates the working directory from the git repository. Doing a git checkout (master is the implied branch) -- file1 file2 repulls those files from the git repo, clobbering them in your local directory. This is like svn revert.
Diffing Changes
Against your most recently committed changes
git diff
From your most recent changes to a past change
git diff #HASHVALUE
Between any 2 changes
git diff #HASHVALUE1 #HASHVALUE1
Branches
Creating a Branch
To create a new branch based on the current one, do:
git branch <branchname>
Changing Branches
To change between branches do:
git checkout <branchname>
Tracking a Branch
If you want to work on a specific branch, you can track it, by creating a local version of it on which you can pull and push. If you have already pulled (or fetched) from origin, you should have all remote branches names:
git branch -a
Will show all branches, local and remote. Choose a remote branch to track then do:
git branch --track <localbranchname> origin/remote/<remotebranchname>
A new local branch will be created, which will push and pull to the specific remote branch.
Resources & References
Git - SVN Crash Course at git-scm.com/course/svn.html
Git for the lazy tutorial at www.spheredev.org/wiki/Git_for_the_lazy
Git Video Tutorials at http://gitcasts.com/ (Several Excellent Video Tutorials)
The Git Community Book at http://book.git-scm.com/
The git-svn(1) Manual Page [1] (git-svn = Bidirectional operation between a single Subversion branch and git)
The Git-Svn Cheat Sheet [2]
